Your Cart is Empty
You are $99.00 away from free shipping!
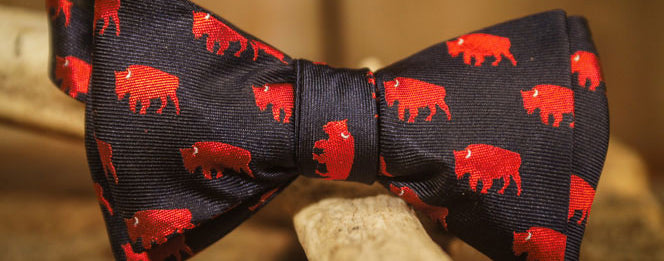
Donning a bow tie easily elevates your ho-hum style from average and boring to confident and interesting. There are of course clip-on and pre-tied options, but if you’ve got a self-tie bow tie on hand, you’re holding a piece of tradition. Learning how to tie a bow tie is a bit tougher than tying a necktie, but with some practice, anyone can master it.
Before you start tying, be sure your bow tie will fit properly. Adjustable length self-tie bow ties are a fantastic one-size-fits-all option, but you need to know your neck size so you can adjust the length before you begin. Using a paper measuring tape, measure from the base of your neck to where your bow tie will sit (right around your Adam’s apple), and don’t forget to give yourself some breathing room. Adjust the length of the tie based on your neck measurement.
Now, start with your collar up and the top button on your shirt buttoned, and watch yourself in the mirror the first several times.
Place the bow tie around your neck. Just like with a necktie, make one end hang longer than the other. The longer end should hang about 1.5 inches lower than the shorter end.
Cross the longer end over the shorter end. Make the cross near your neck, leaving enough room to comfortably work with.
Use one hand to hold the point where the tie crosses itself, and with the other hand, take the hanging portion of the longer end and pass it behind, then up and over the crossing point. (At this point, pull both ends of the tie until you reach the desired tightness around your neck. Then toss the longer side back and over your shoulder to get it out of the way for the next step.)
Lift the shorter end of the tie, and fold it over on itself at its widest point. Then lift that entire portion and turn it 90 degrees so it’s horizontal. (If you’ve done this correctly, it should form a loop that points toward the same side as the shoulder where you tossed over the longer end earlier.) Hold the fold together at the skinniest part -- this loop and fold will be the front part of the bow in the completed bow tie -- so if it’s looking like a bow tie shape, you’re on the right track.
Drape the longer end down over the center (skinniest part) of the bow. Then grab both sides of the horizontally folded bow and pinch them together in front of the long end (so the top of the now-dangling long end is held between them).
Take the dangling longer end and fold it over on itself like you did with the shorter end in step 4. Then, turn it horizontally, and pull the folded end through the hole you will find behind the bow portion you’ve already created. (This forms the back half of the bow.)
To finish and tighten the bow tie knot, pull gently on the looped ends, not the flat ends. (If you pull on the flat ends, you’ll untie the tie -- like untying a shoelace.) To straighten the bow tie, just twist the loop at the front and back bows to work them into the correct position.
Give it some practice, and you’ll be a pro in no time. It’s worth the effort to learn how to tie authentic bow ties. Emerging from a rich history, the man who dons a bow tie today (and knows how to tie it himself), makes a confident, quiet statement of class and style.