Your Cart is Empty
You are €99,00 away from free shipping!
Your Cart is Empty
You are €99,00 away from free shipping!

Revised 9/29
You’ve invested in a great leather bag or pair of boots, and you want to be sure they last. Applying a leather conditioner is crucial. A good leather conditioner or conditioning polish will lubricate the leather fibers, protect the surface of the leather from stains, and enhance the shine and patina. High-quality leather conditioner and polish can be easily purchased, but if you’re up for a homemade adventure, give this DIY leather conditioner a try.
- Medium saucepan
- Measuring cup
- Measuring spoons
- Wooden spoon
- Tins to hold and store conditioner (heat-resistant plastic will also work)
- Solid Beeswax (protects the leather)
- Coconut butter or Shea butter (conditions the leather)
- Sweet almond oil (softens & moisturizes the leather) - substitute grapeseed oil if you have a nut allergy
- Castor oil (shines the leather)
1. Measure ingredients using a ratio of [ 1/2 part butter: 1/2 part beeswax: 2 parts oil] to start. For example:
-2 Tbsp coconut/shea butter
-2 Tbsp beeswax
-¼ cup sweet almond oil
-¼ cup castor oil
2. Melt butter and beeswax in a medium saucepan over medium-low heat, stirring constantly to avoid burning or boiling.
3. Keep stirring, and add the sweet almond oil
4. After almond oil is fully blended, add castor oil. Stir until castor oil is well blended, and continue to heat for 4-5 minutes, but do not allow to boil.
5. Pour mixture into empty tins, filling to about ⅛” from the top, and allow to cool.
You can adjust the ratio of your leather conditioner recipe depending on how firm you want your conditioner. More beeswax/butter will result in a firmer, more paste-like conditioner; more almond oil and/or castor oil will make it softer. Most importantly, remember to always spot test any products - homemade or otherwise - in an inconspicuous area of your leather bag.
1. If you’ve successfully made your own leather conditioner, the easy part will be applying it. But first: cleaning. It’s critical that you give the leather a thorough cleaning before applying conditioner. Start by dusting the surface with a dry cloth, and then move on to using a leather cleaner. You can purchase a leather cleaner or make your own, but always remember: use cleaner first; then conditioner.

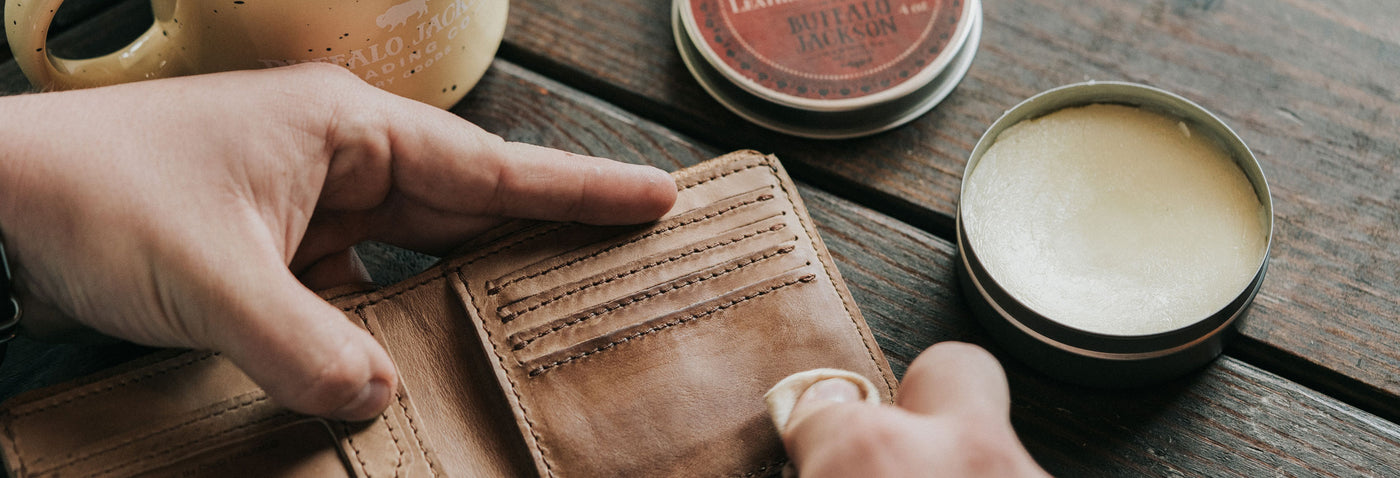
2. After cleaning the leather, you’re ready for conditioning. Put a small amount of your DIY leather conditioner onto a clean, lint-free cloth (not directly onto the leather). As mentioned earlier, begin by spot testing the conditioner on an inconspicuous area of the leather. Allow it to dry for an hour or so to be sure you like the effect before moving on.
3. Apply the conditioner in a small, circular motion over entire panels or sections of the leather at a time, taking special care with seams and corners.
4. Use a soft, dry cloth to gently buff the leather surface, again being mindful of seams and corners.
5. Allow the leather to dry before use. Repeat the conditioning process every 2-6 months depending on your climate (more humidity requires less conditioning and vice versa).
Regular cleaning and conditioning are crucial for getting the most out of your leather. So, whether you buy your cleaner and conditioner, or make them yourself, be sure to use them properly—and keep your leather looking its best. Ensure you're buying durable and quality leather bags and goods and not faux leather products, which you can't clean or condition. Learn the difference between Faux Leather vs. Real Leather, and why you should avoid the fake stuff.
Orders shipped to Canada may be subject to import duties, tariffs, and taxes charged by Canadian customs. These fees are not included in our prices or shipping costs. You will be responsible for any additional charges upon delivery. Please review local customs regulations before placing your order.

